More info on the project
In this video we carry on the construction of the bumper drift car by cutting and making its basis for the back axis of the vehicle using the cnc plasma cutting.
After welding the basis on the frame of the vehicle and screwing the axis in parallel position with the bodywork, we created the space for the motor’s placement. Also, after welding the motor’s basis on the frame, we screwed the 110cc motor on its place.
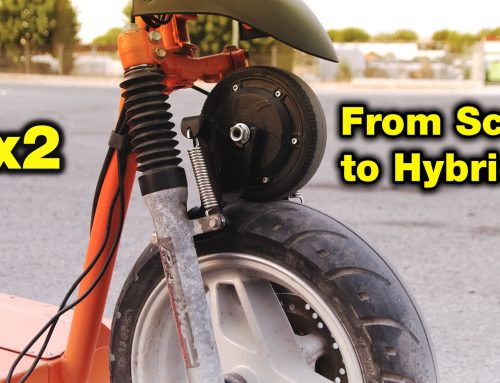
Additionally, we cut the body of the vehicle in different parts in order to get shrinken again and fit an adult like the rest of it. Also, the car’s seat has been cut in many parts to move the seat backwards. The rest procedure on these parts will be continued on the third episode of the project. At the particular time lowering the vehicle at its frontal part was preceded as it got higher after placing the bigger wheel at part 1.
Thus, we cut the piece of fiberglass which connected the steering wheel with the rest of the vehicle, we put it at the height we wanted and we casually adjusted it with metallic blades. Following, we reconnected the fiberglass with two pieces. Therefore, we created a metallic lever to enable the driver to change speeds.

Also, to enable the motor to work we placed the kick start, the coil and the cdi of the engine. In addition, we placed the carburettor of the engine to make the throttle petal without unsealing the intake of the engine so the engine won’t get affected by the dust gathered during the procedure.
At the end of this part we are making the exhaust out of stainless steel. More work on the pieces of the vehicle’s body as well as other details will be done on part 3.